More work on ailerons
Today I started the day off match drilling the nose skin to the stainless steal counterbalance. Then I worked on the aileron aileron stiffeners. First there holes had to be drilled to size. Then they had to be separated, trimmed, deburred and dimpled. I wrapped up the day dimpling the remaining parts, including the skins. Tomorrow I’ll prime and start riveting.
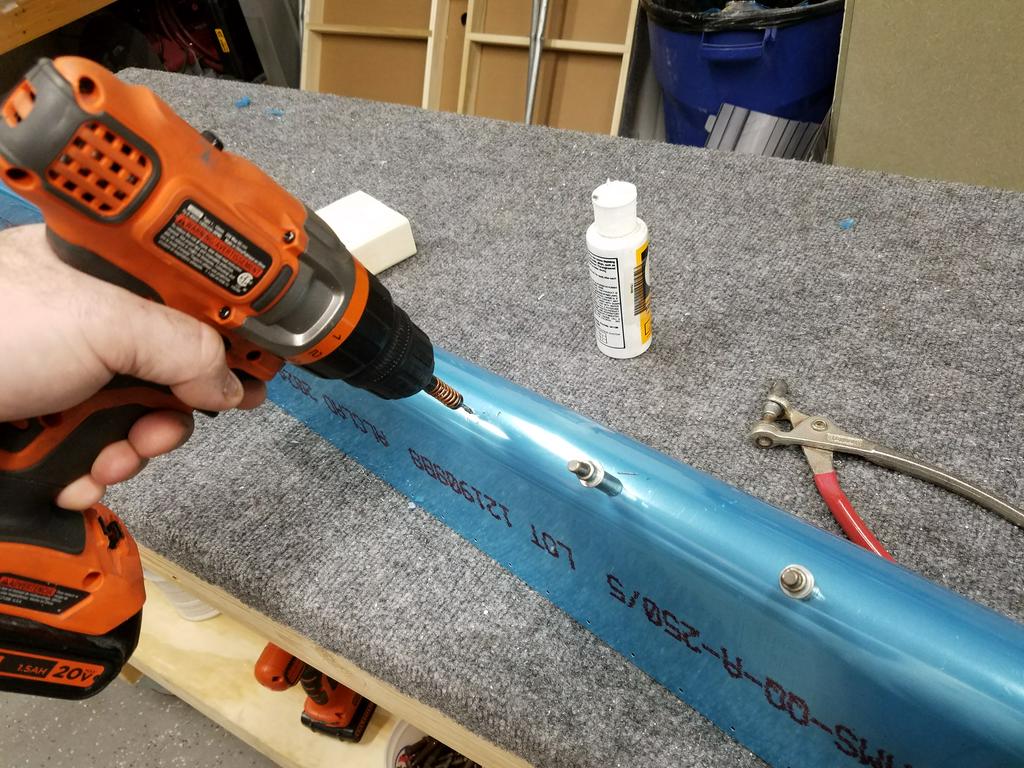
Match drilling the counterbalance weight to the nose skin
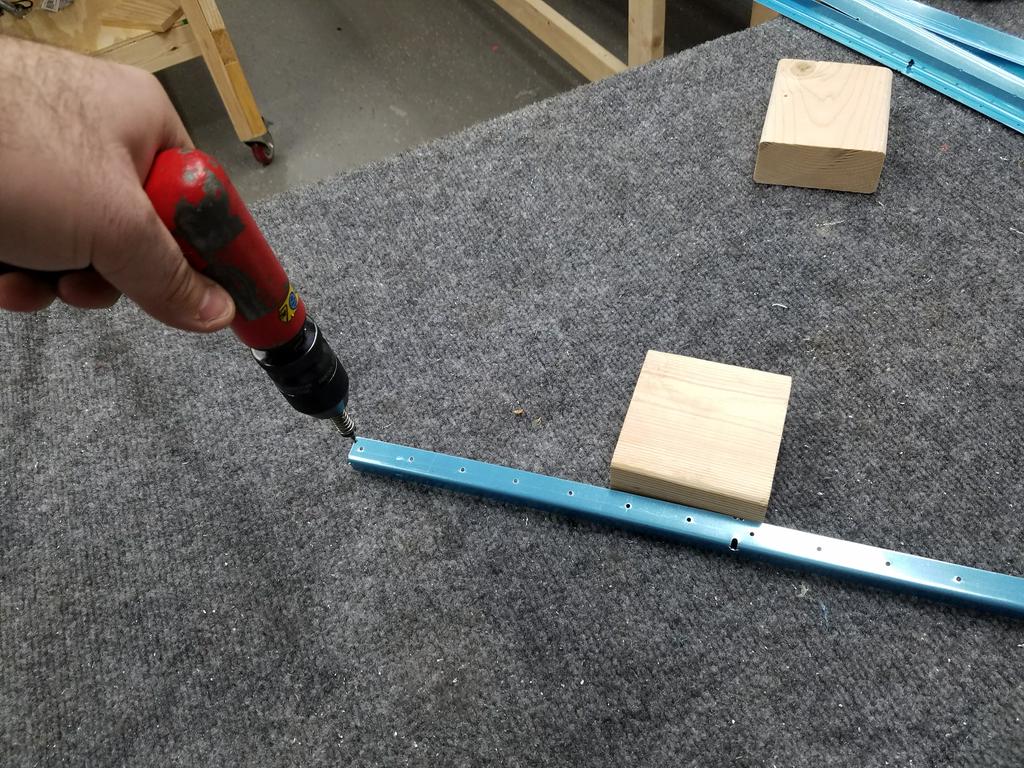
Drilling aileron stiffeners to size
Getting ready to start separating the stiffeners from each other and trim to size
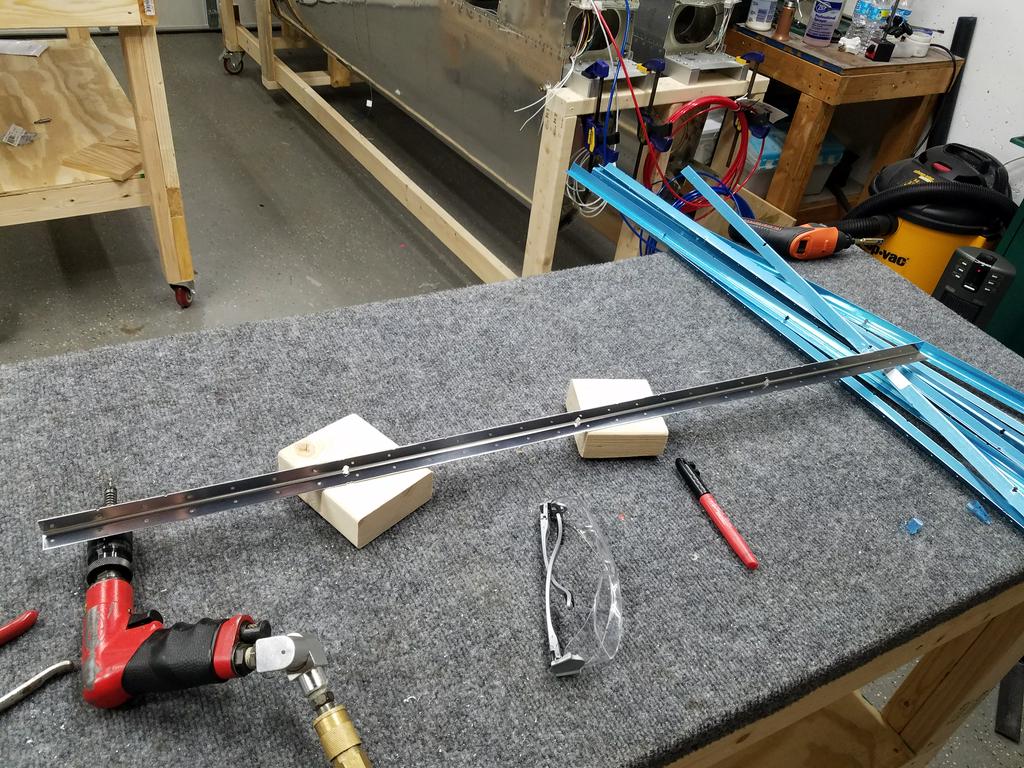
Cut lines layed out
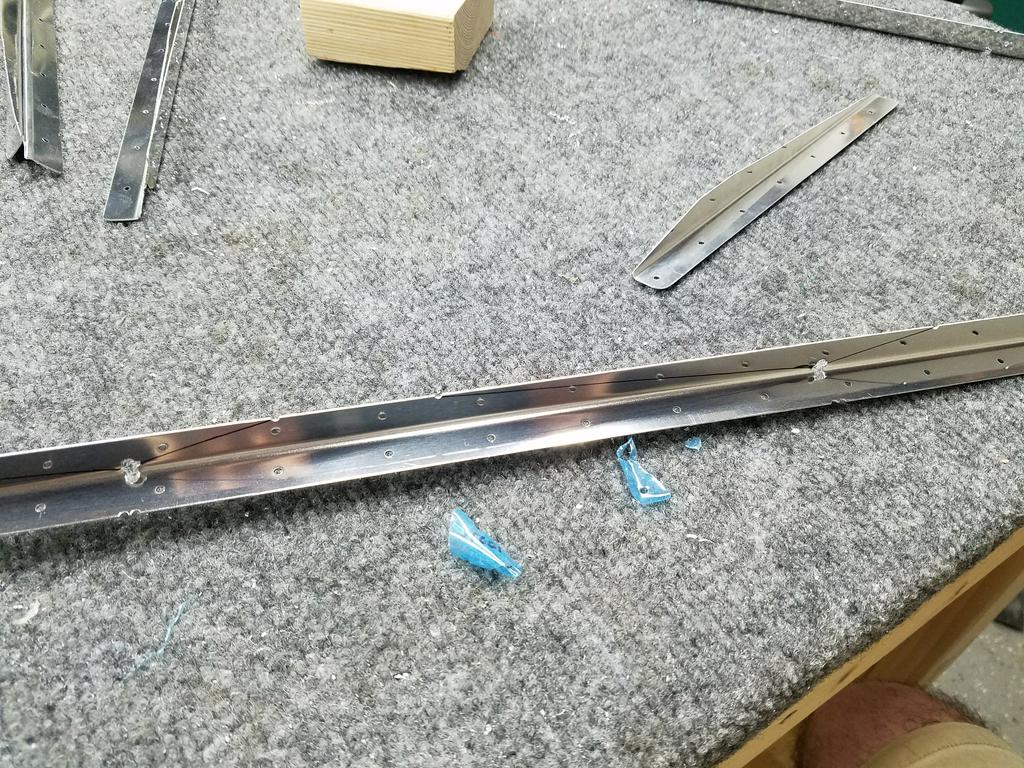
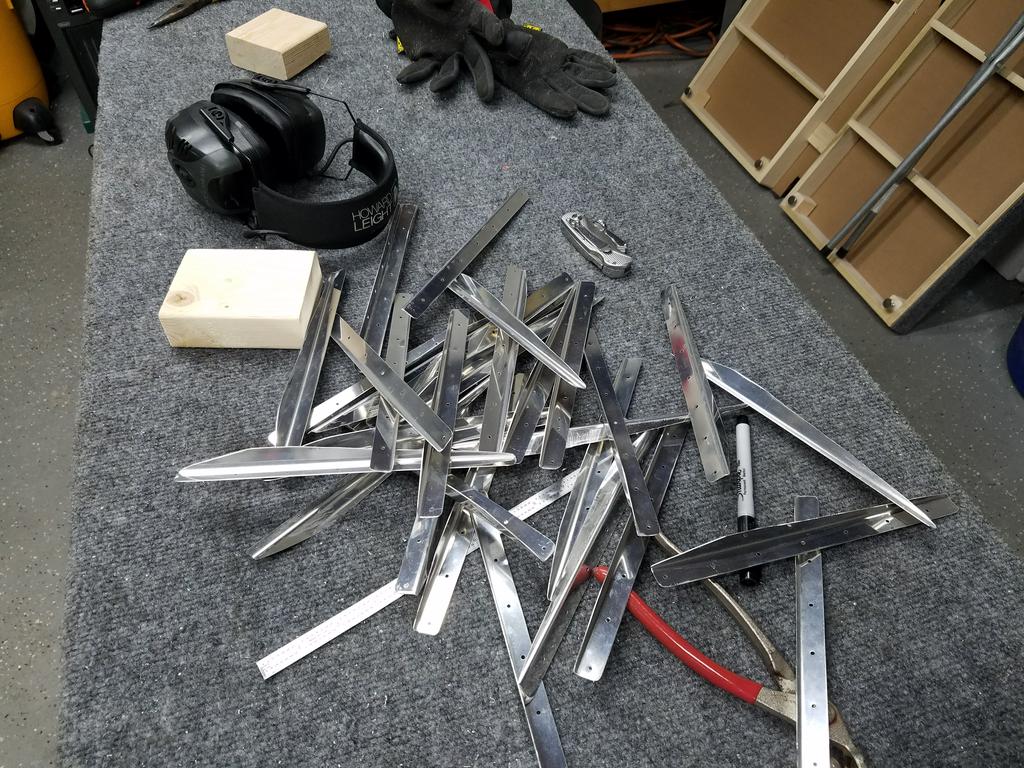
The final result. An aileron stiffener.

Now repeat 32 times!
Skins dimpled
