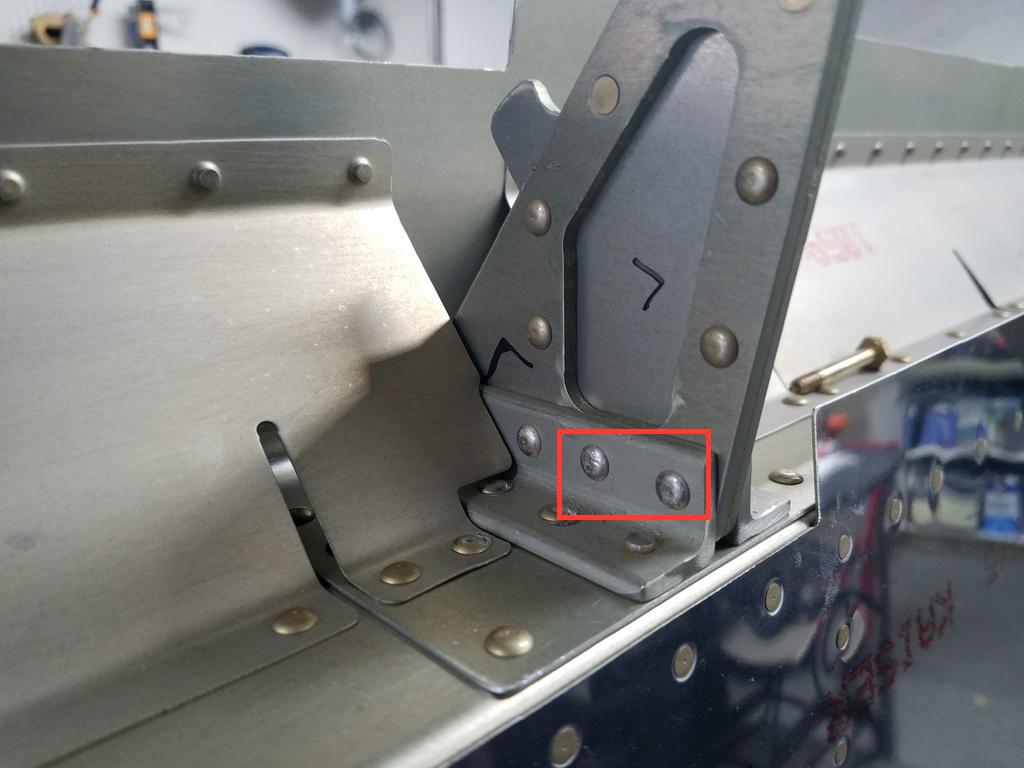
Today was one of those days when you say “I hope tomorrow is a better day”. Today was a day of pure Fuckery! Let’s break it down. I started the day mounting the ailerons…then I discovered there is an interference issue with the aileron and the inboard aileron bracket. Basically, Van’s released a service bulletin several months ago which was a redesign of the inboard aileron bracket. It’s makes the bracket significantly thicker. Turns out that based on the new design, and Van’s choice of using universal (round head) rivets in a particular location the aileron rubs against the bracket where the universal rivets are. The fix is to remove the universal head rivets and replace with countersunk flush rivets. It’s a bit of a pain in the ass fix now… It would have been much easier early, when I was build the brackets and they hadn’t been riveted onto the plane yet. The part that ticks me off the most is that when I called Van’s to discuss a fix they mentioned a lot of people have run into this problem! Then update the plans and send different rivets!! Duh!!! Anyway. I drilled out the offending rivets and countersunk the holes. I order replacement rivets from Aircraft Spruce. They should be here tomorrow. I got to pay $10 in shipping for $0.50 worth of rivets…
The offending rivets
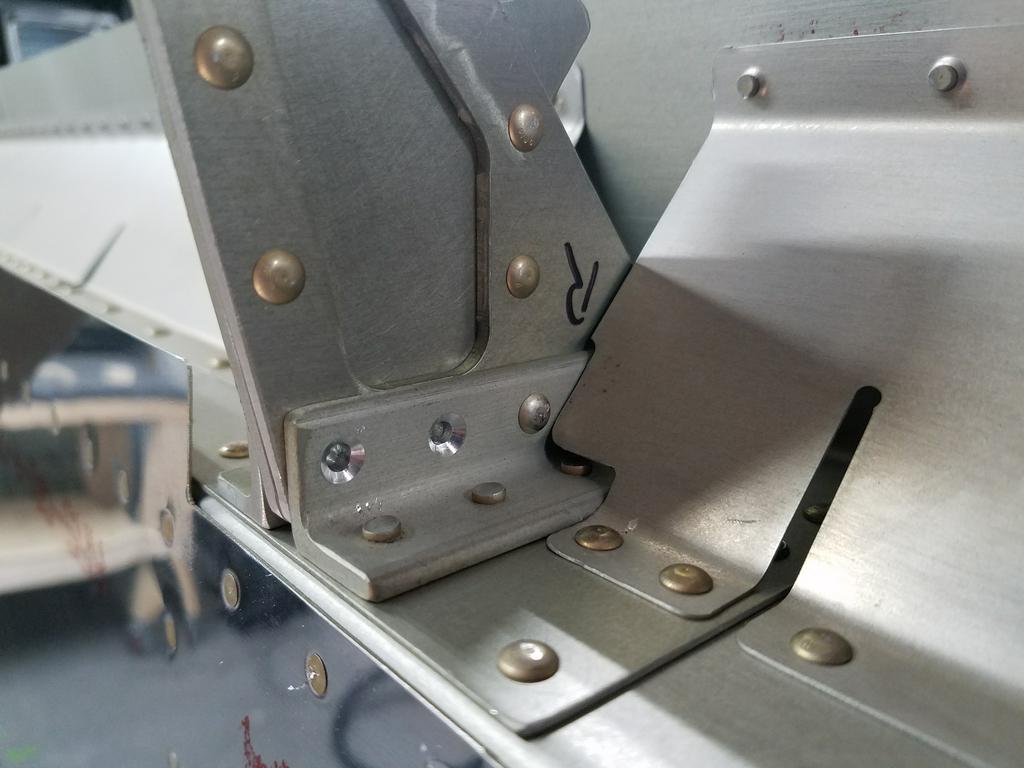
After drilling out the rivets and countersinking the holes
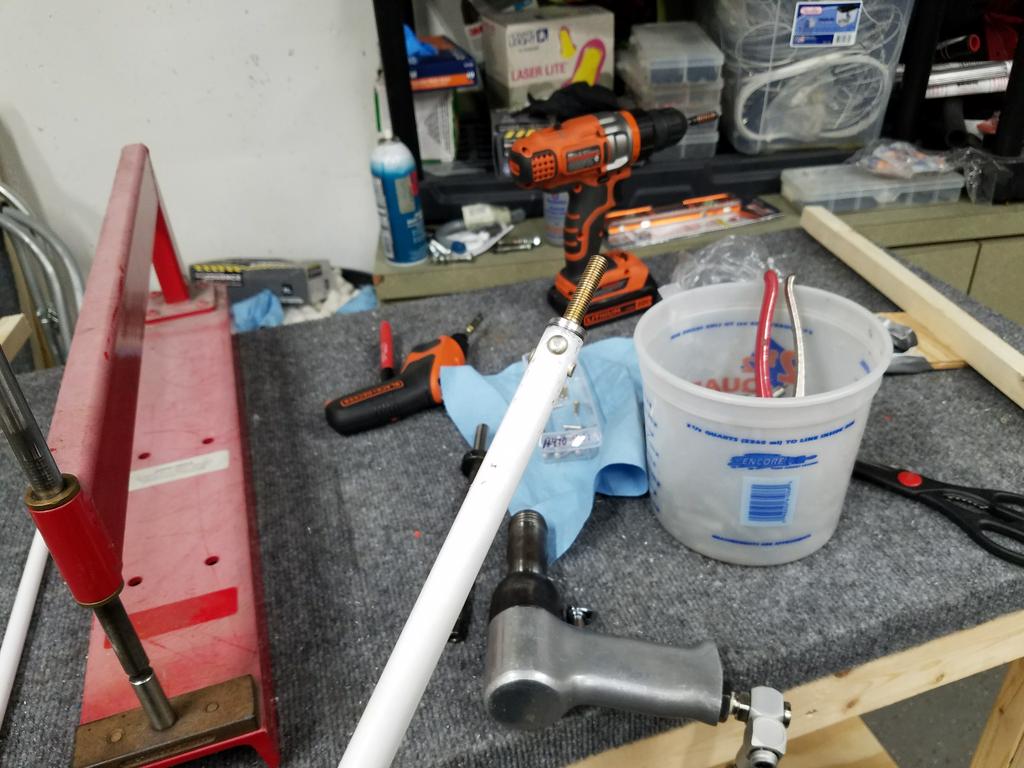
Next I moved onto fabricating the Torque Tube to Aileron Bellcrank pushrod.
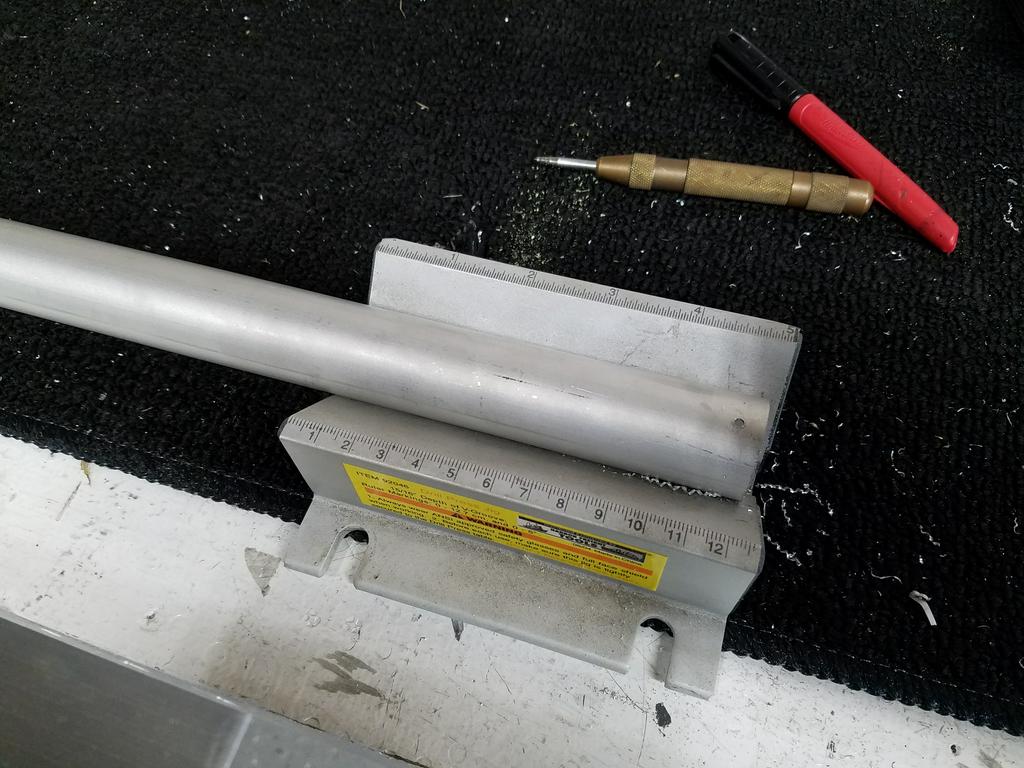
Cutting the aluminum tube to size
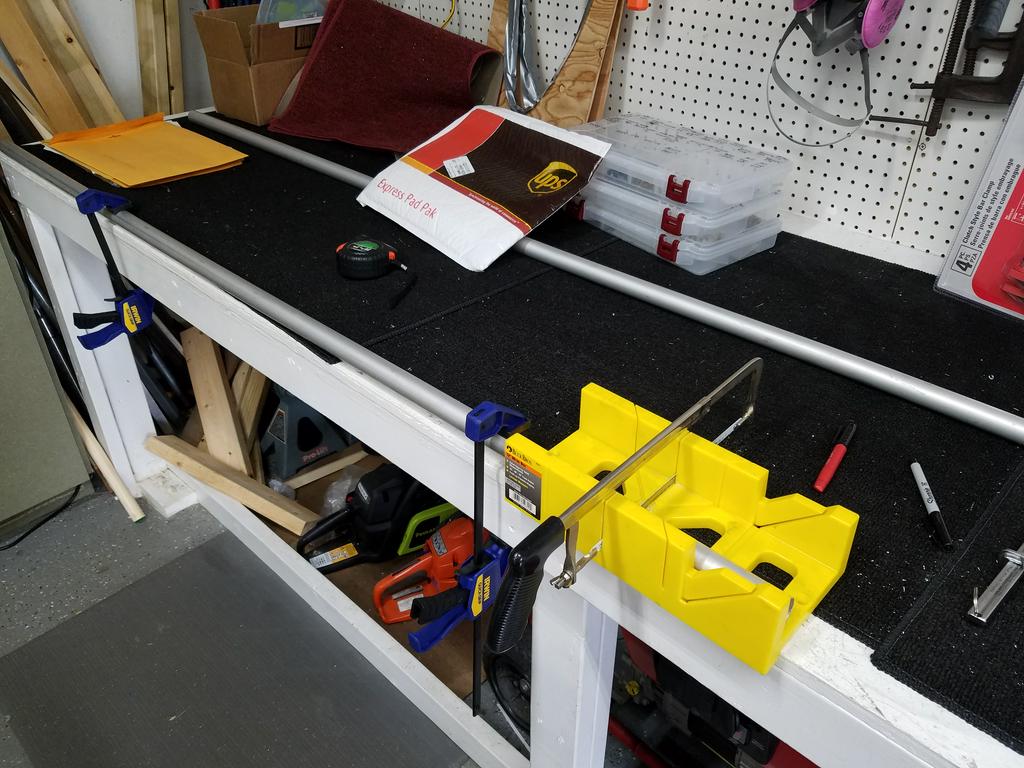
Pilot drilling the rod-end mounting holes
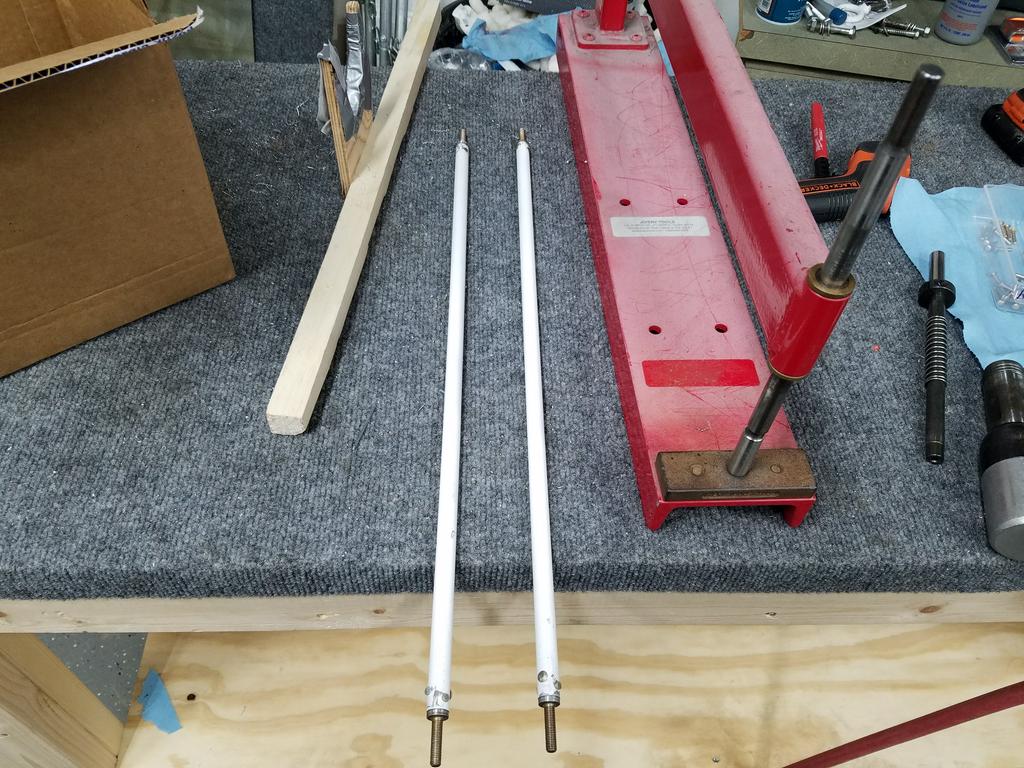
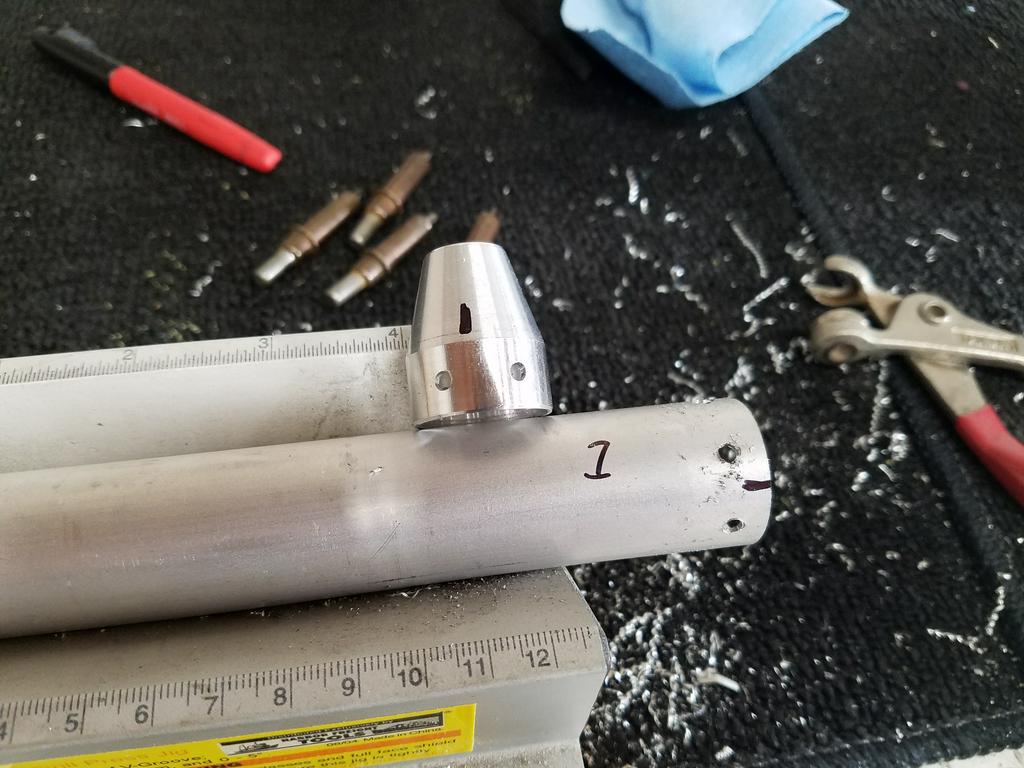
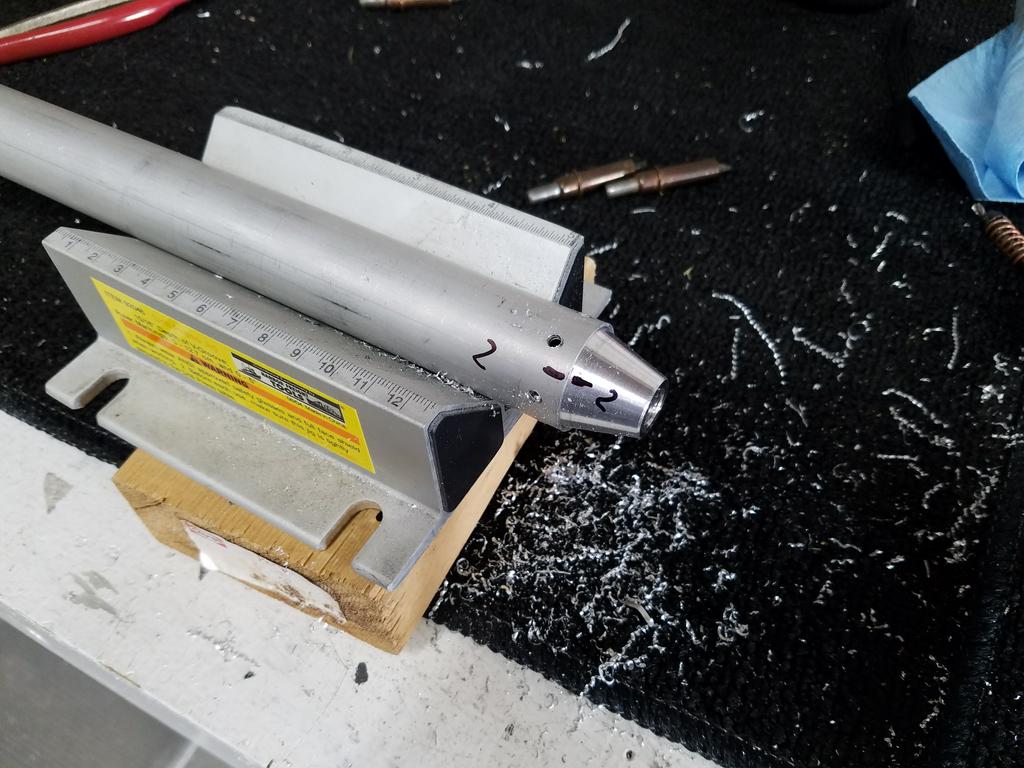
After match drilling the rod-ends to the pushrod
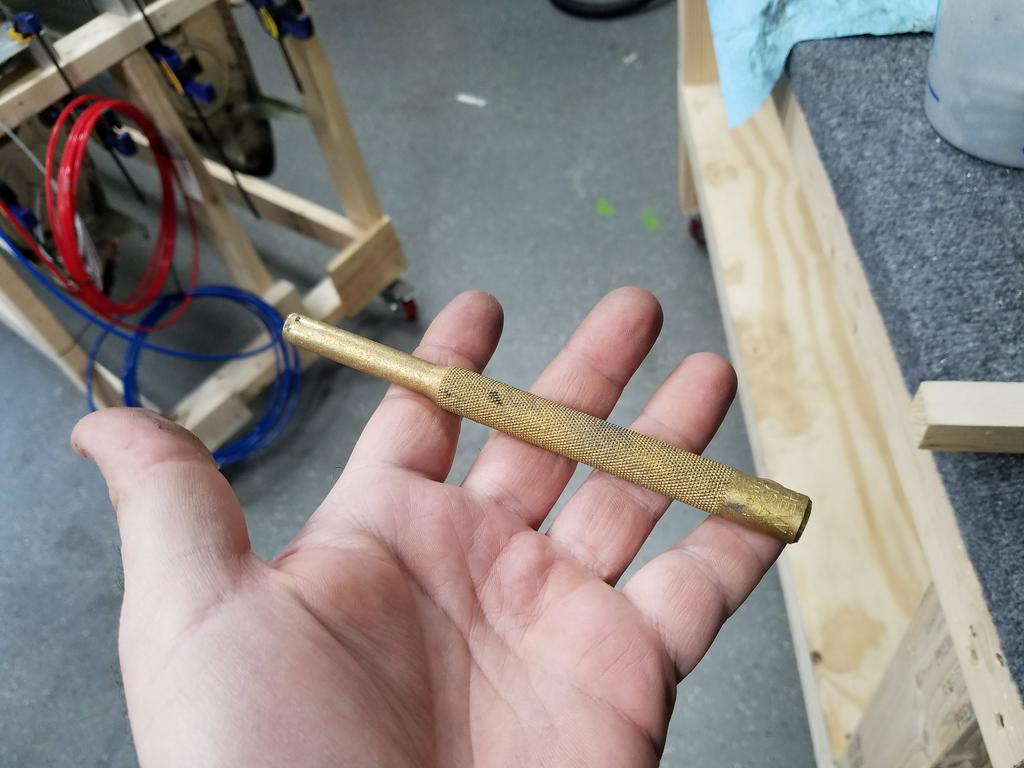
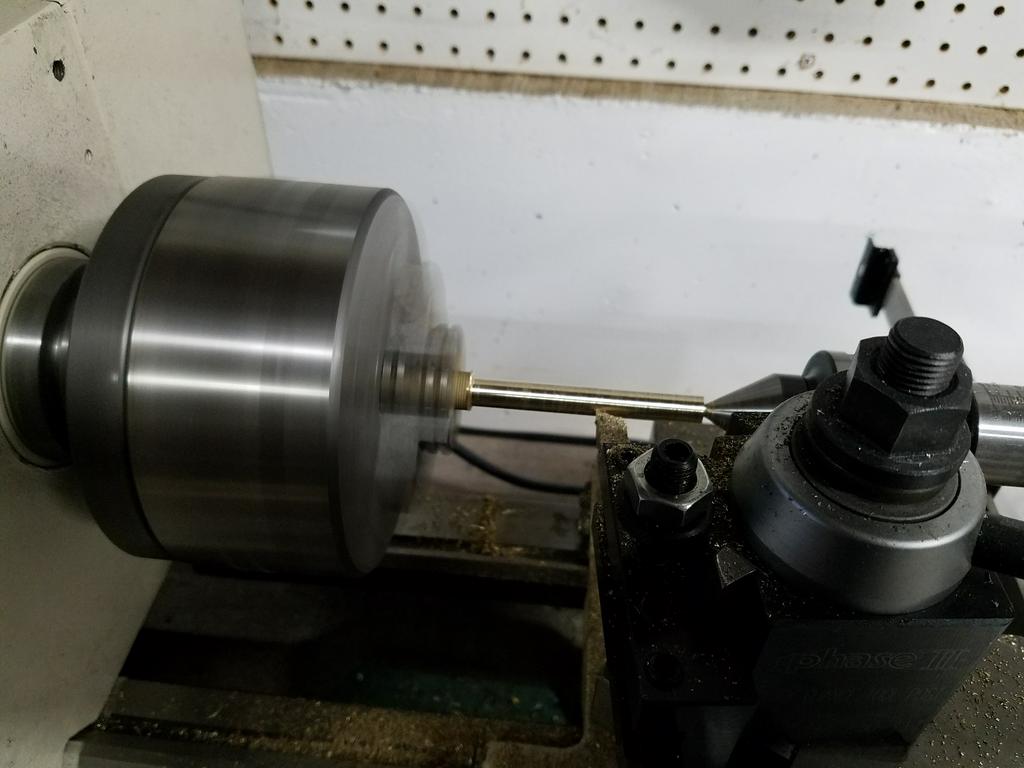
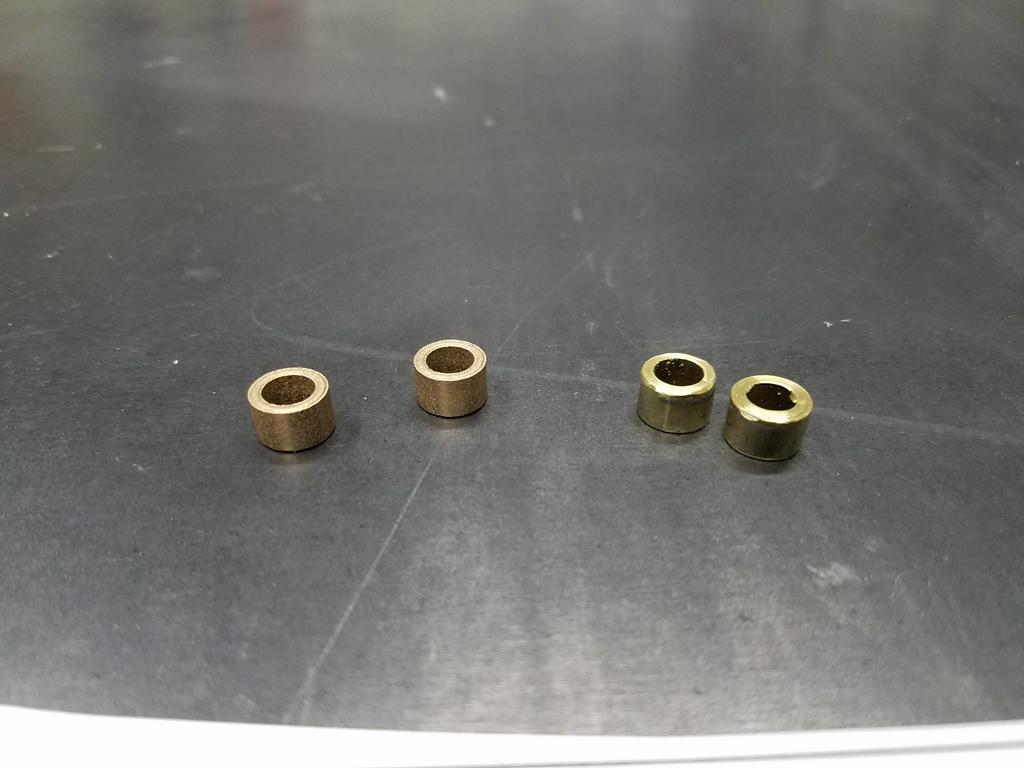
Things went smoothly with the pushrod work and I thought my troubles were behind me. Then started the next round of Fuckery! Long story short, I cut up some brass tubing that came with the kit and made bushings out of it for the flaps. Turns out I wasn’t supposed to cut that piece of brass tubing up. I was supposed to use these little pre-cut bronze bushings. For some reason I put the bronze bushings in a different container then the rest of the bushings and forgot about them. When is was time to do the flap bushings I got confused and cut the brass tubing to make the bushings. I noticed this error because the brass tubing is supposed to act as a bearing for the aileron bellcrank. Whoops. Turns out sourcing a replacement piece of brass tubing was going to be surprisingly expensive…and it was going to cause me some delay. So I decided to sacrifice one of my brass punches for the cause and put my machining skills to good use. I machined a new brass bushing for the aileron bellcrank out of the brass punch
Sorry brass punch!
Machining to size on the lathe
Done!
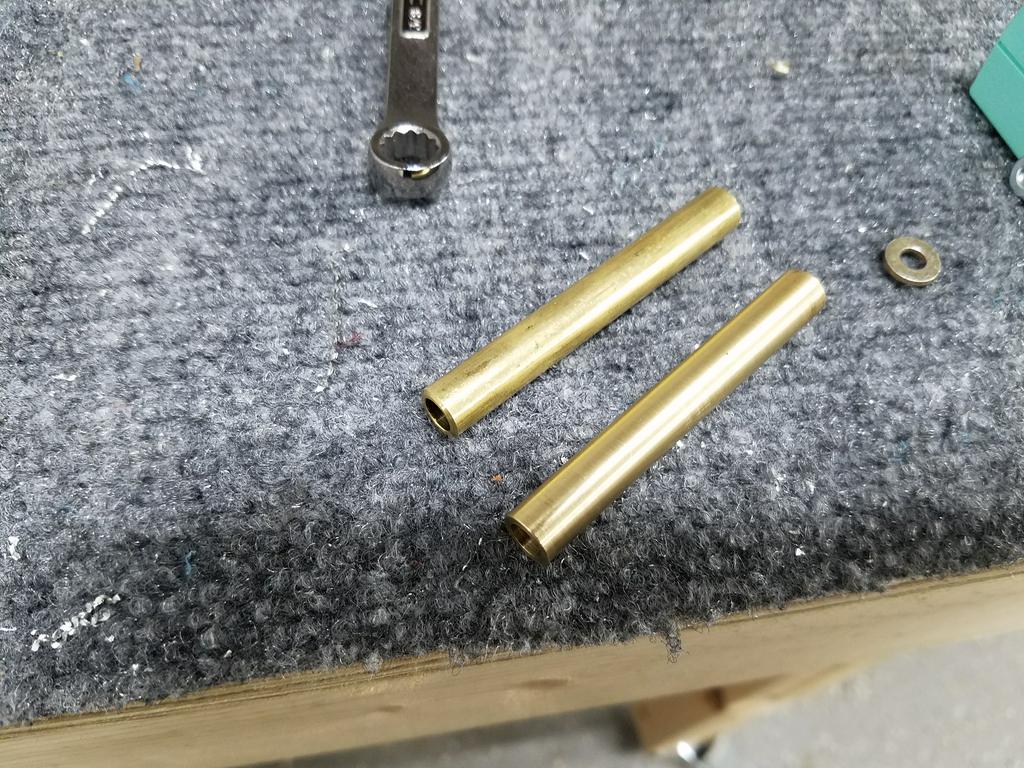
The bronze bushings I was supposed to use on the left. The cut up brass tubes pieces on the right
Now on to Fuckery - Round 3. I began working the bellcrank to aileron push tube. It’s made of 0.5" diameter powder coated steal pipe. Your supposed to put the rod ends into the ends of the tube, drill several holes and rivet the rod ends in place. Similar to the pushrod I did earlier. The fun started when the rod end was about .005" do large for the steel tube. So I had to chuck the rod-ends in the lathe one-by-one and use emery cloth and scotch-brite to reduce the diameter to an interference fit. Then I carefully pounded the bajeeshish out of them until they were snugly pressed into the ends of the tubes. I drilled the appropriate holes on the mill, riveted them on and called it a night!….Let’s hope tomorrow is a better day
Rod-ends on and riveted