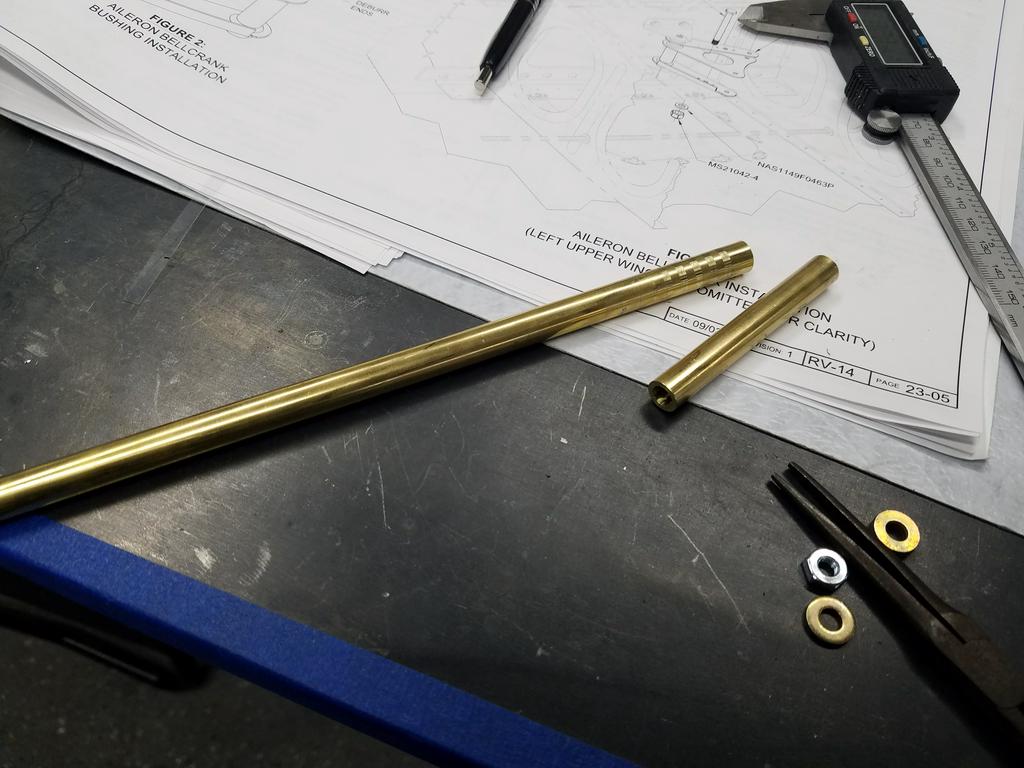
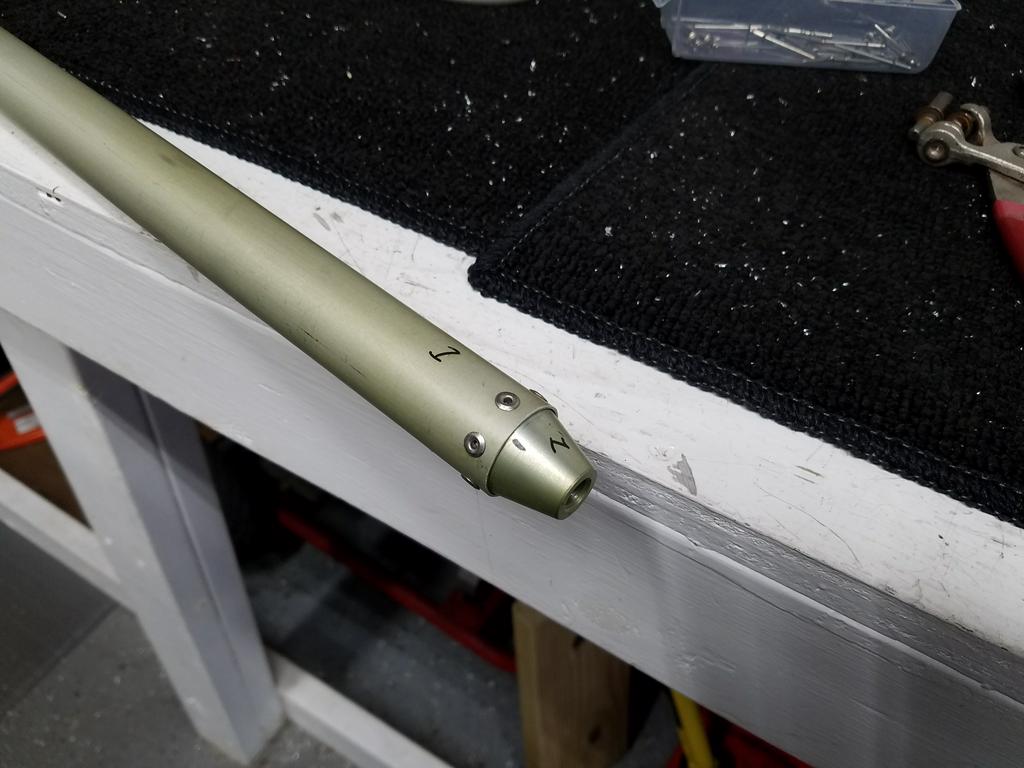
Today I started the day driving down to McMaster-Carr and picking up some new brass tubing. I totally forgot McMaster sells raw materials. I decided not to use the brass tube I made yesterday because I was unsure of the alloy. It would have probably been fine, but I was able to get the same alloy Van’s sent from McMaster for $13 and 1 hour round trip of driving. So I decided to pull the trigger and get some new tube. First task was to cut the tube to size and ream the ID to .250.
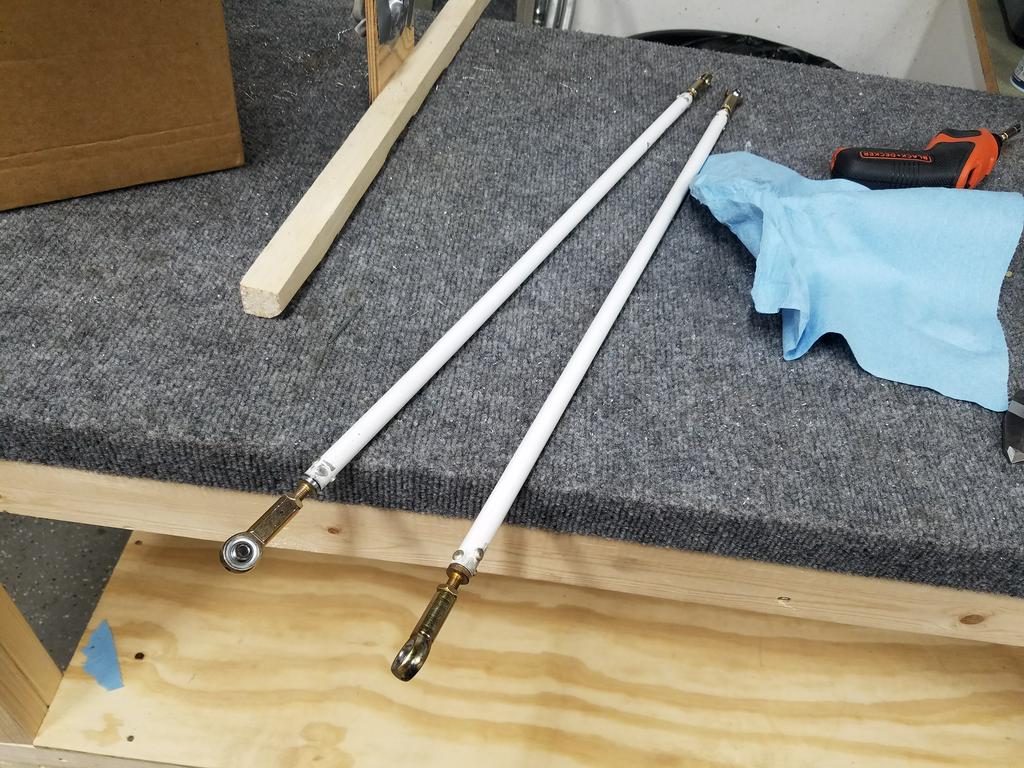
Next I installed the rod-end bearings on the Bellcrank to Aileron Pushrod. You have to thread the bearings on the correct amount on each side to make the rod a certain length.
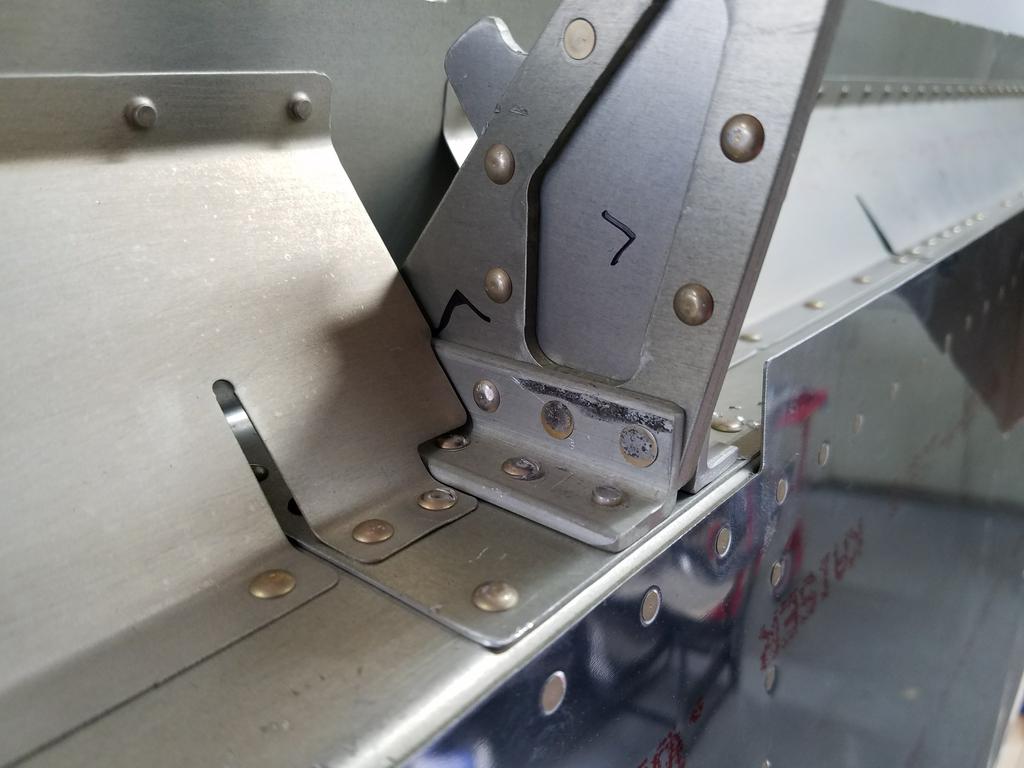
Right when I finished with the rod-ends I heard the UPS driver arrive and deliver the countersunk rivets I needed from yesterday to solve the interference problem with the ailerons. I ended up drilling the holes one size larger and using AN5 rivets. For one because the holes were slightly wallowed out and two because the AN4 rivets in the length I need didn’t arrive in the package…turns out they were back-ordered…I guess the Fuckery Gremlin made a road trip over to Aircraft Spruce for me =). It worked out though, the AN5’s were right thing to use in the case anyway since the holes were wallowed.
Next I primed the inside and outside of the Torque Tube to Bellcrank Pushrod
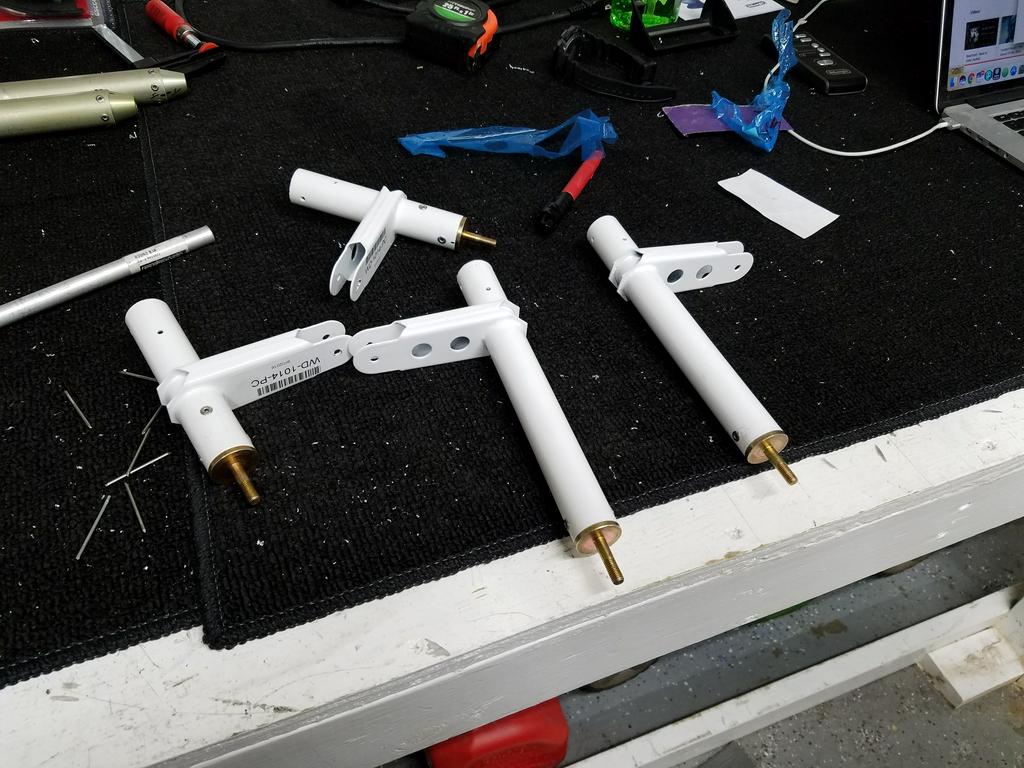
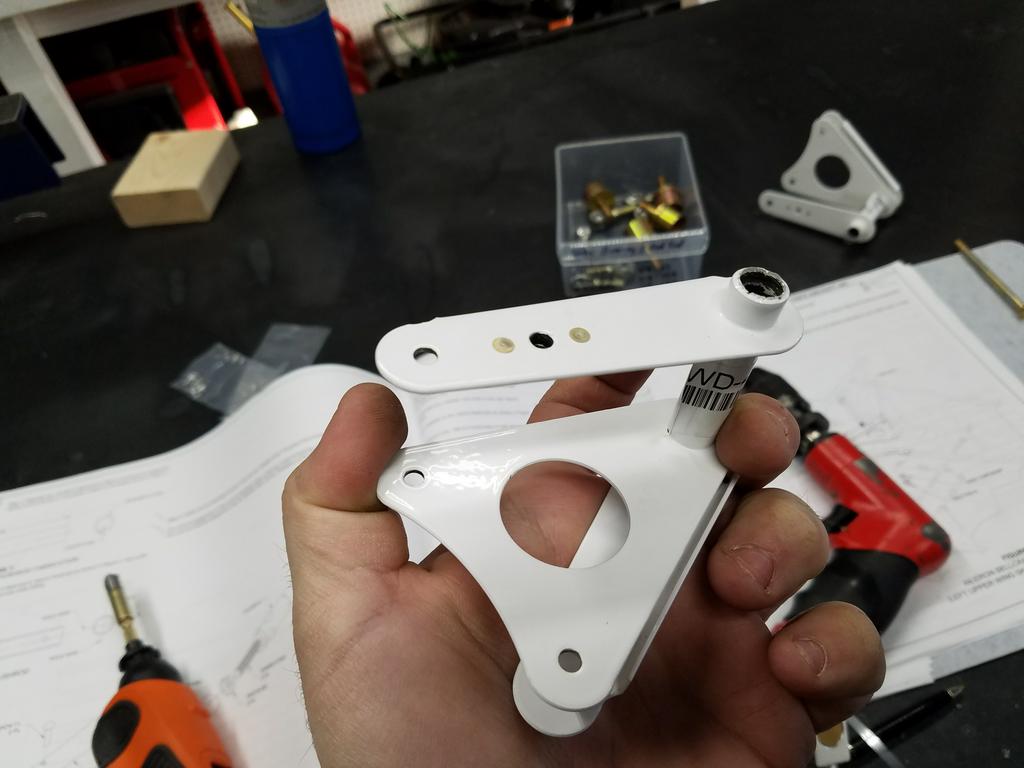
Afterwards I drilled the holes in the aileron bellcranks to the correct sizes and install a nutplate on the right bellcrank for the autopilot servo that will be installed later.
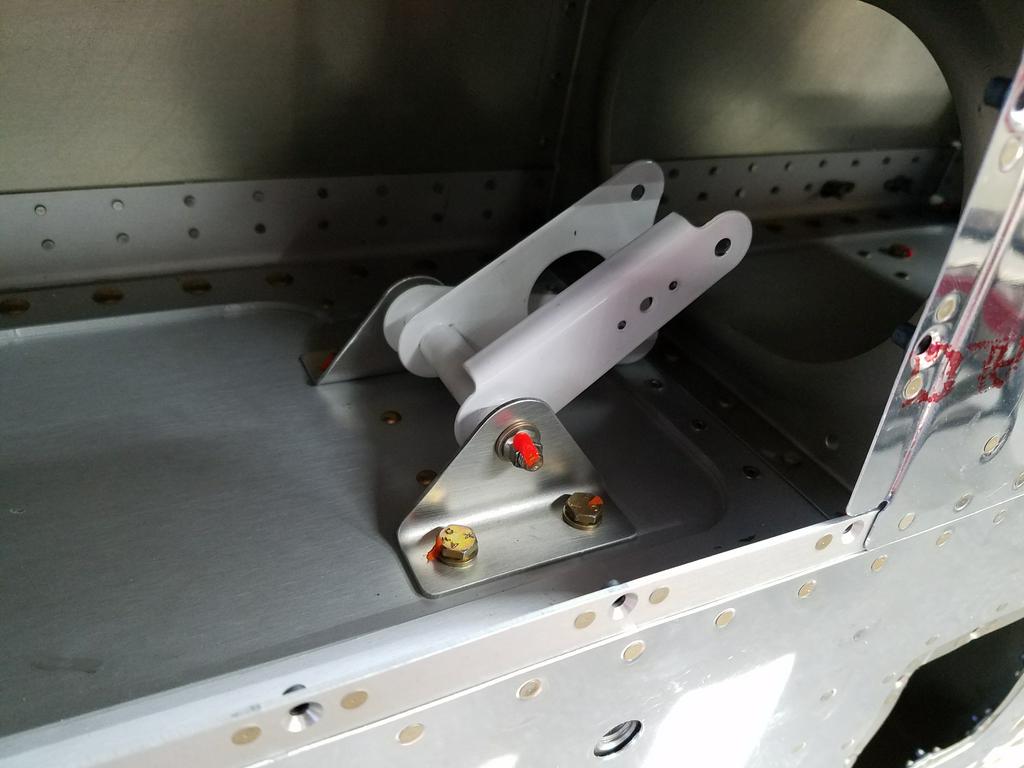
Then I greased the brass bushings and install the brass bushing / aileron bellcrank assembly into the each wing
By now the primer on the Torque Tube to Bellcrank Pushrod had dried good, so I riveted the rod-ends onto the tube. I didn’t install the rod-end bearings because I want to make sure the primer is fully cured before threading them in. The instructions recommend this, because if the primer isn’t fully cured it can act like a glue and it makes it real difficult to thread them back out later if needed.
Lastly today I drilled and installed the rod-ends into the torque tube assemblies. It took some sanding the inside of the tubes with emery cloth to get them to go in, otherwise it was a smooth operation (nothing like the crap I dealt with yesterday with the Aileron to Bellcrank pushrods)