Riveted left leading edge parts
Today I riveted the left leading edge parts. It started with a lot of nut plate riveting. Then I had to get the assembly clecoed together, which is a project in and of itself. Afterwards Zak came over and helped me rivet the skins to the ribs. Big thanks Zak!
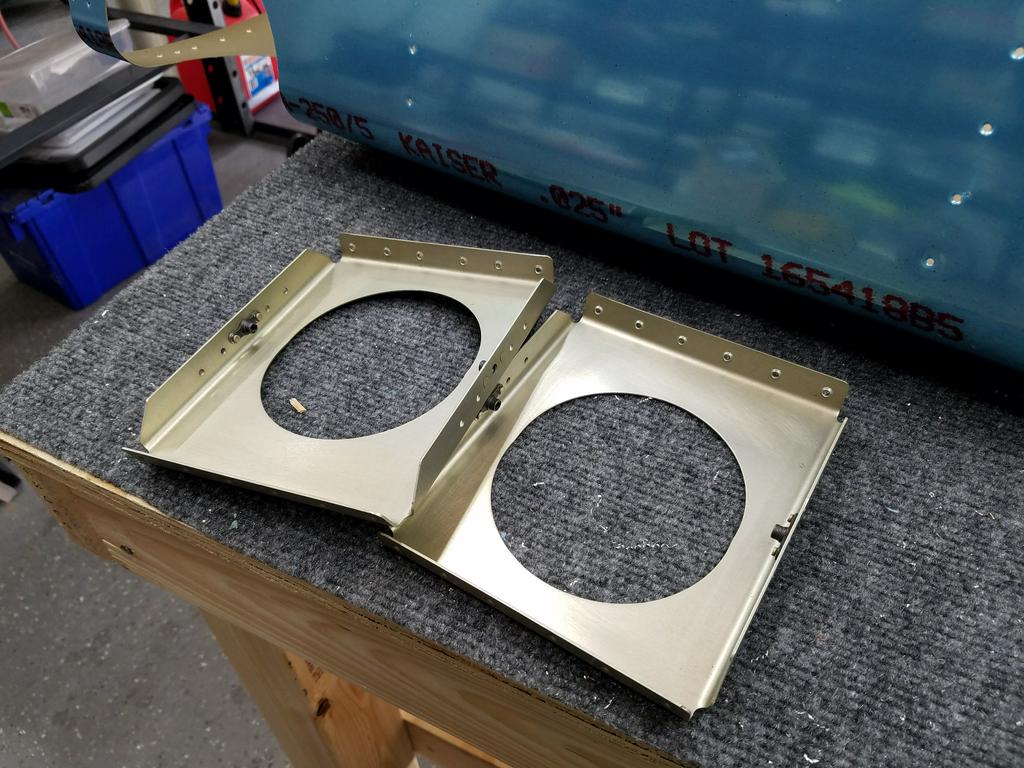
Riveted the nutplates to the landing light backing plates
Riveted the nutplates to the landing light mount bracket
Nutplates riveted to the access plate doubler

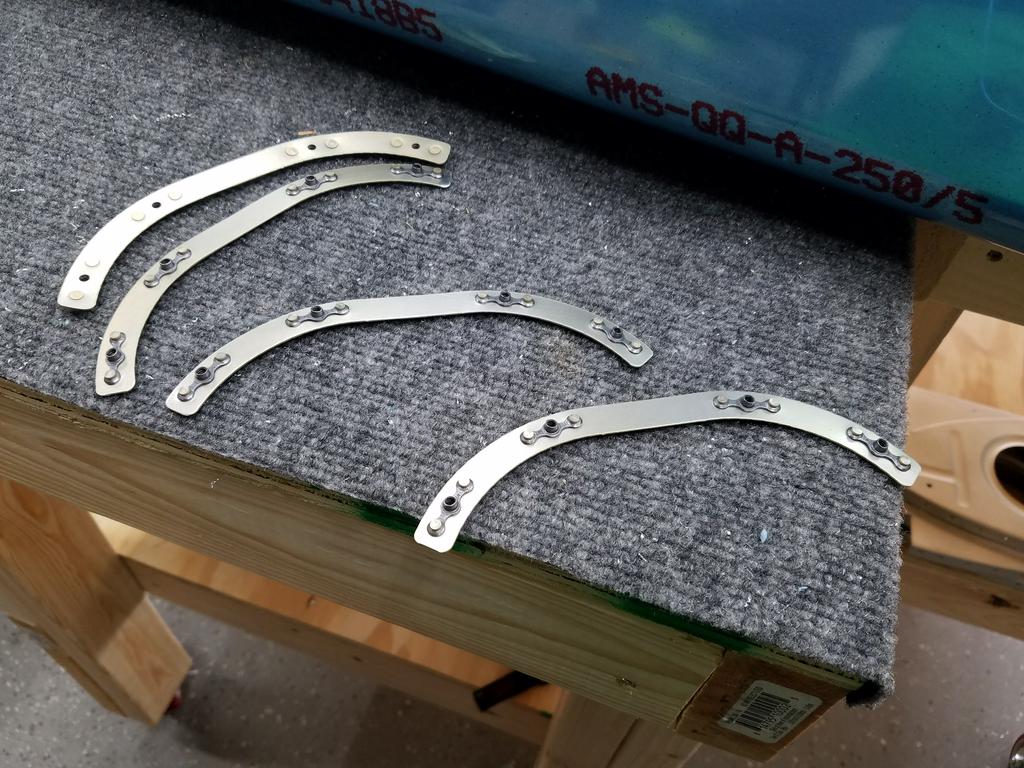
Nutplates riveted to the splice strips

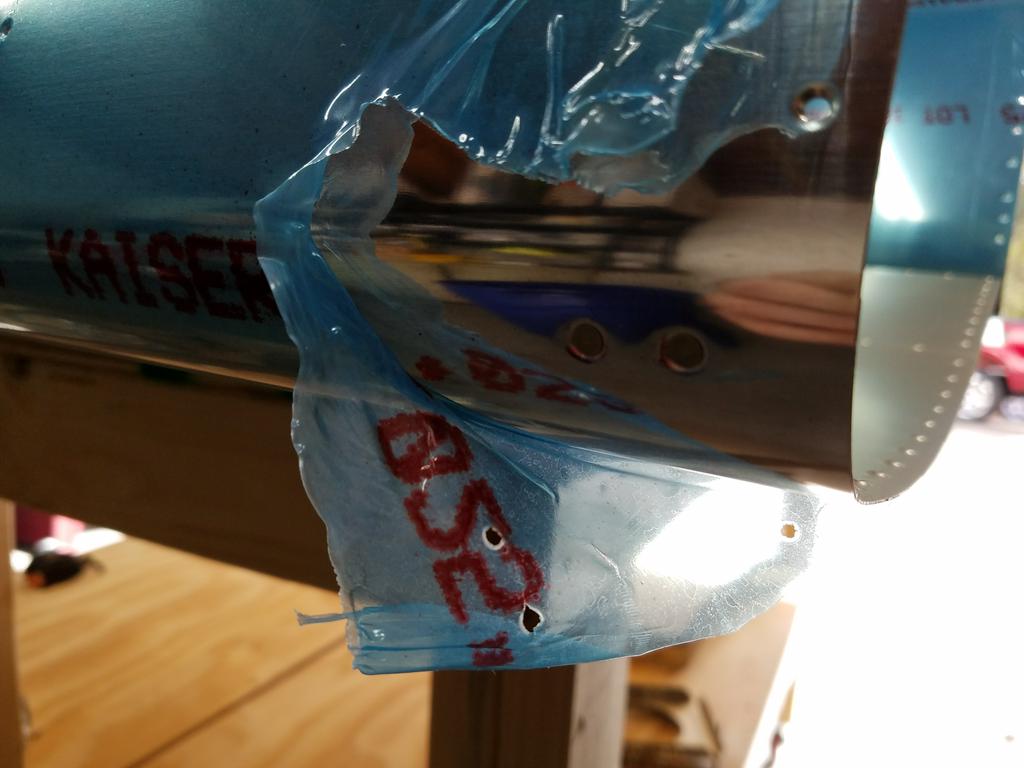
Put flush rivets in the holes that come pilot drilled for the stall warner. I'm installing an AOA probe so the stall warner switch is a bit redundant
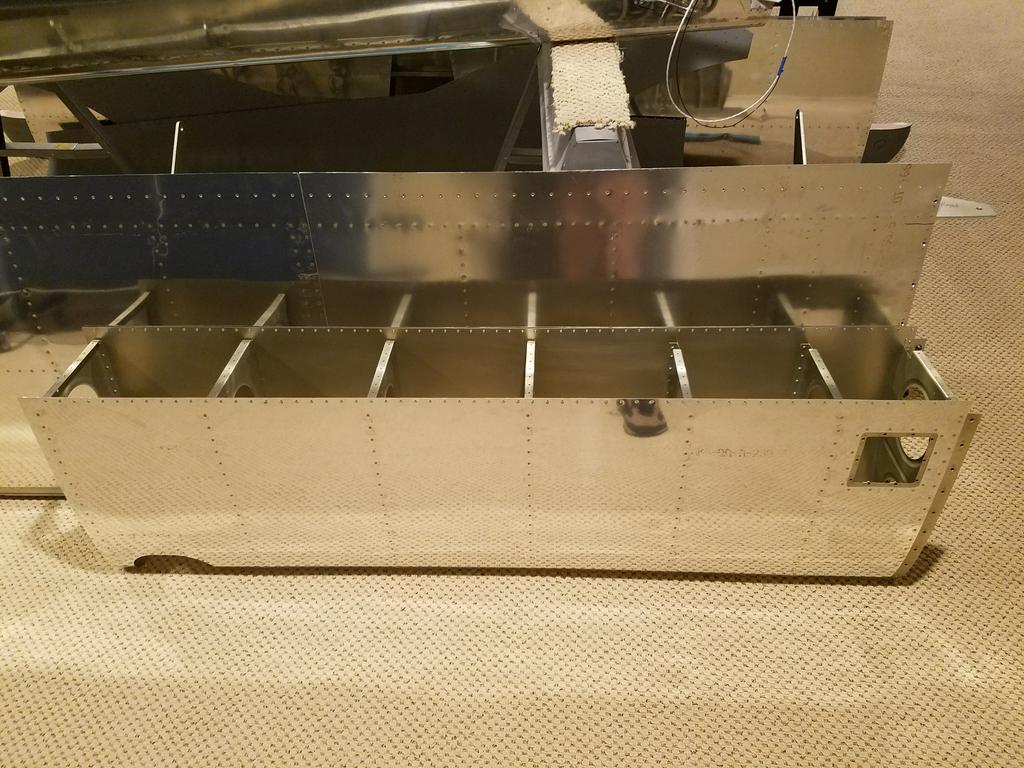
The left leading edge assembly riveted together and waiting to be riveted onto the main wing assembly